
Your plants looked perfect last week, so why are the stems turning soft and the leaves drooping?
If you’ve spent time building a terrarium, you know how devastating it feels to watch something beautiful slowly decline. Terrarium root rot is one of the most common problems that terrarium keepers face, and it usually starts long before you notice any visible symptoms.
The tricky part is that this condition develops underground, hidden beneath the substrate, where you can’t see it happening. By the time your plants start showing warning signs on their leaves or stems, the damage may already be significant, so catching it early really does matter.
The good news is that once you understand what you’re dealing with, you’ll be much better equipped to both recognize and prevent it. You don’t need a biology degree or fancy equipment, just a little knowledge and some careful observation go a long way.
So let’s talk about what’s actually happening in your terrarium, how to spot the signs, and what you can actually do about it, step by step, without the overwhelming jargon.
What’s actually causing this?
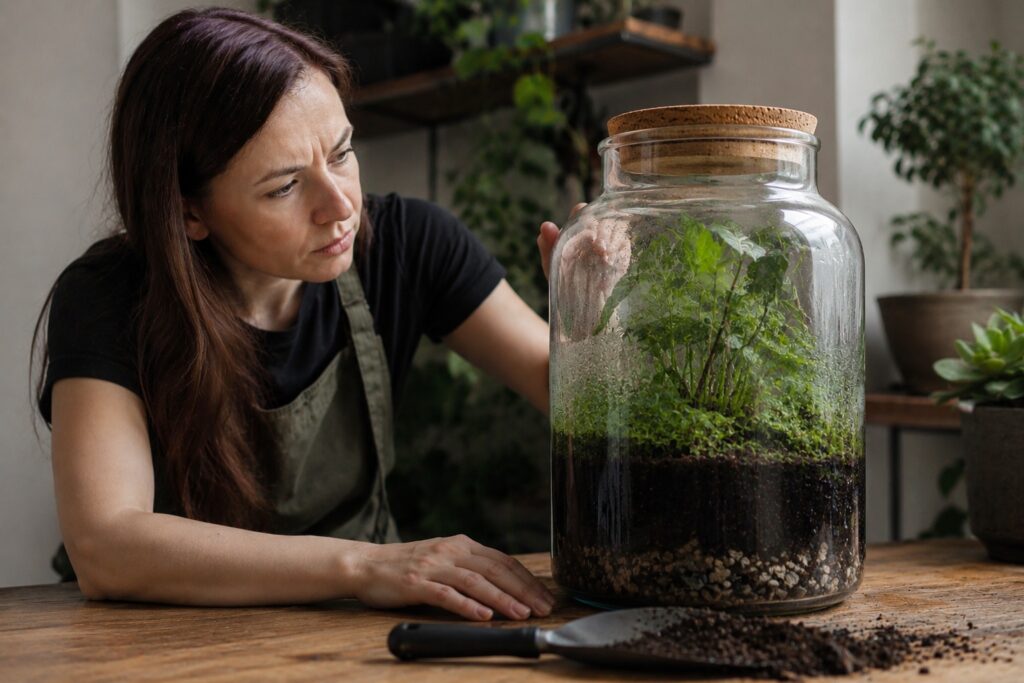
Terrarium root rot is caused by a combination of excess moisture and the activity of certain fungi and bacteria that thrive in waterlogged conditions. When roots sit in wet substrate for too long, they’re deprived of oxygen, which weakens them and makes them vulnerable to microbial attack.
In a closed terrarium especially, water doesn’t evaporate the way it does in an open pot. The ecosystem is self-sustaining, which is usually a beautiful thing, but it also means that any imbalance, like overwatering at the start or a drainage layer that isn’t doing its job, can snowball quickly.
The role of drainage (or the lack of it)
Most terrarium substrates hold moisture well, that’s by design. But without a functioning drainage layer beneath the growing medium, excess water has nowhere to go, and that’s precisely when terrarium root rot gets its opening.
That stagnant layer becomes a breeding ground for anaerobic bacteria, which are the key culprits behind the breakdown of root tissue. Once they establish themselves, they multiply fast and the damage accelerates.
There’s also an in-depth article about terrarium drainage you can check out here. It an help you understand how to keep plants healthy.
Why closed terrariums are more vulnerable
In a closed terrarium, humidity stays consistently high, which most tropical plants absolutely love. However, that same moisture-rich environment creates ideal conditions for fungal growth if things get slightly out of balance.
Open terrariums breathe more freely, but they’re definitely not immune. Terrarium root rot can affect both types, it just tends to develop more slowly in open setups because excess moisture has more opportunity to escape through evaporation.
Soil choice and its impact
The type of substrate you use plays a bigger role than most people realize. Regular potting soil, for instance, tends to compact over time and retain far too much moisture for most terrarium plants, which restricts airflow around the roots.
A proper terrarium mix, usually something with perlite, sand, or orchid bark mixed in, stays loose and well-aerated, giving roots the breathing room they need. If your substrate clumps together when wet and doesn’t loosen back up, it’s probably contributing to the problem.
How to recognize the signs
Spotting terrarium root rot early is genuinely the difference between saving your plants and losing them entirely. The symptoms can be subtle at first, which is why regular check-ins with your terrarium are so valuable. Here’s a breakdown of the most common warning signs to watch for.
| Sign | What it looks like | What it means |
|---|---|---|
| Yellowing leaves | Pale or yellow coloring, starting from the bottom | Roots can’t absorb nutrients properly |
| Soft or mushy stems | Stems feel squishy near the base | Tissue breakdown has started |
| Foul smell | A sour, swampy odor from the substrate | Anaerobic bacteria are active |
| Wilting despite wet soil | Plant droops even though the soil is moist | Roots are too damaged to function |
| Darkened roots | Brown or black roots instead of white or tan | Advanced root decay |
| Mold on substrate surface | White or gray fuzzy patches on the soil | Excess moisture and fungal activity |
If you’re noticing two or more of these signs at the same time, it’s a strong indicator that terrarium root rot is already underway and you’ll want to act sooner rather than later.
Checking below the surface
Sometimes the only way to know for sure is to take a gentle peek below the substrate. You can carefully remove a plant from the terrarium and inspect the roots, healthy roots are firm and usually white, cream, or tan in color.
Rotted roots look very different: they’re brown or black, feel soft and mushy when you touch them, and they may fall apart easily. There’s also often an unpleasant smell. If you see this, don’t panic. There are things you can do.
What to do when root rot has already started
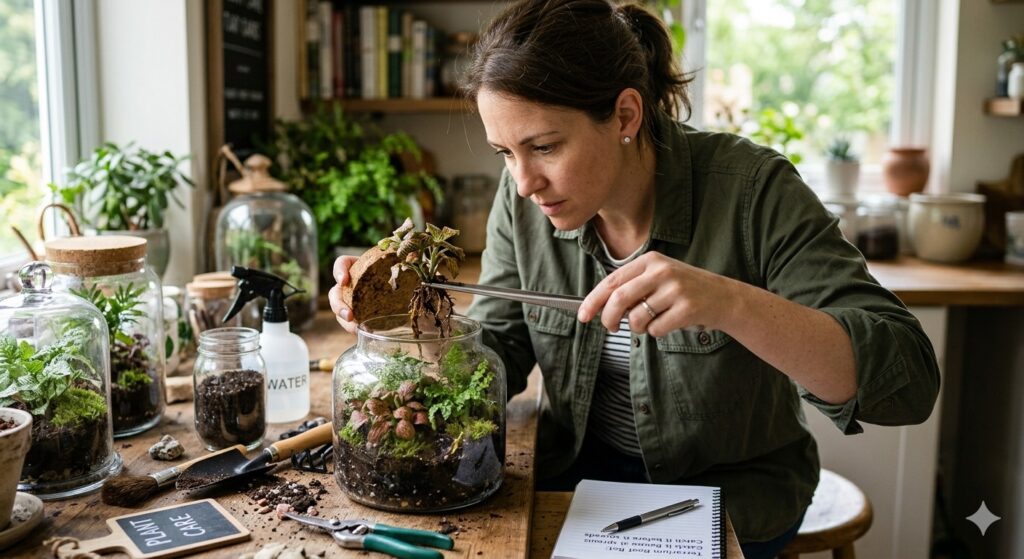
Acting fast is key once you’ve confirmed the problem. Terrarium root rot doesn’t resolve on its own, in fact, it tends to spread to neighboring plants if left untreated, so isolation and intervention are your first priorities. Here’s a practical approach to treating affected plants.
- Remove the plant carefully from the terrarium, trying to disturb the roots as little as possible during the process.
- Rinse the root system gently under lukewarm water to remove the old substrate and get a clear look at what you’re working with.
- Trim away all damaged roots using clean, sterilized scissors or pruning shears. Cut back to healthy tissue, this part is important, so don’t skip it.
- Let the roots dry slightly before replanting. Leaving them exposed to air for 30 to 60 minutes helps reduce moisture and can slow further fungal spread.
- Treat with a diluted hydrogen peroxide solution (about 3% concentration, mixed 1:1 with water) by misting the roots gently. This helps kill off remaining bacteria and fungi without harming the healthy tissue.
- Repot in fresh, dry substrate. Don’t reuse the old mix, since it may still harbor harmful microorganisms.
- Hold off on watering for several days after replanting to give the plant time to stabilize.
Recovery isn’t guaranteed, especially for plants with severe damage, but many plants bounce back wonderfully with proper treatment and a little patience.
Dealing with the terrarium itself
Once you’ve removed and treated the affected plant, it’s important to also address the terrarium environment. Terrarium root rot can persist in old substrate, so leaving contaminated mix in place is a bit like treating a wound without cleaning it, the conditions that caused the problem are still there.
If only one plant was affected and the rest look healthy, you may be able to remove just the surrounding substrate in that area and replace it with fresh mix. However, if multiple plants are struggling or the smell is widespread, a full substrate reset is probably the smarter move.
Prevention: building a terrarium that resists rot
Honestly, prevention is where the real magic happens. Once you understand what creates the conditions for terrarium root rot, you can design your setup in a way that makes it much harder for the problem to take hold in the first place.
Layering your terrarium correctly
A well-layered terrarium has several distinct zones, and each one serves a purpose. At the very bottom, a drainage layer of pebbles, lava rock, or LECA (lightweight expanded clay aggregate) gives excess water somewhere to collect away from the roots.
Above that, a thin layer of horticultural charcoal helps absorb toxins and keeps the environment fresher for longer. Then comes your substrate. A well-draining mix appropriate for the plants you’re growing. That combination alone dramatically reduces the risk of water buildup.
Choosing the right plants
Not every plant thrives in a terrarium environment, and planting something that prefers drier conditions into a high-humidity setup is a setup for trouble. Succulents and cacti, for example, are very susceptible to terrarium root rot in closed or semi-closed setups.
Stick with plants that genuinely enjoy moisture and humidity, think ferns, mosses, nerve plants (Fittonia), and small tropical varieties. They’re naturally adapted to the kind of environment a terrarium creates, which means they’re far more forgiving.
Watering habits that actually help
In a closed terrarium, you may only need to water every few weeks, or even less. The water cycle inside the glass takes care of a lot of the moisture management on its own, and overwatering is far more common than underwatering in this kind of setup.
A good rule of thumb: water only when the substrate feels dry about an inch below the surface, and always use a spray bottle or syringe for precise application. Adding too much at once is one of the fastest ways to accidentally create the waterlogged conditions that terrarium root rot loves.
A few extra tips worth keeping in mind
Beyond the foundational steps, there are some smaller habits that can make a real difference over time. Ventilating your closed terrarium for a few hours each week, for instance, helps prevent moisture from building up to problematic levels.
Terrarium root rot also tends to show up more often in warmer months when temperatures encourage faster microbial activity. Keeping your terrarium away from direct sunlight and heat sources gives you a little extra buffer against conditions that speed up decay.
Regularly inspecting your plants, not just glancing at them, but really looking at the leaves, stems, and soil surface, helps you catch early warning signs before they turn into something harder to fix. Think of it as a quick weekly check-in rather than an occasional emergency sweep.
And finally, if you’re starting a new terrarium from scratch, sterilizing your substrate before use can eliminate a lot of potential problems right from the start. Baking it in the oven at a low temperature for about 30 minutes kills off unwanted fungi and bacteria before they ever get a chance to take hold.
Keep learning: a read you’ll want to check out next
If you’ve been dealing with terrarium root rot, there’s a good chance you’ve also noticed tiny flying insects hovering around your plants or the soil surface. These two problems often go hand in hand, and understanding the connection can help you tackle both at once.
“Fungus gnats in terrarium: a no-fuss solution” is a great next read that walks you through exactly what these little pests are, why they show up, and most importantly how to get rid of them without disrupting your whole setup.
Head over to that article when you’re ready, because the strategies covered there complement everything you’ve just learned here. Knowing how to handle both excess moisture and the critters it attracts makes you a much more confident terrarium keeper overall.
You’ve already taken a great step by learning about root rot, so keep that momentum going and give that article a look. Your terrarium (and the plants in it) will thank you for it.