
Your plants are sending you signals right now: here’s exactly how to read them!
You noticed something was off, and you were absolutely right to trust that instinct. An overwatered terrarium shows subtle signs at first that can escalate quickly when left ignored.
Moss turning yellow, condensation that never fully clears, and a faint earthy smell gone from pleasant to concerning. These clues are all worth stopping to pay attention to.
The good news is that most terrariums can recover, even when things look pretty grim. You just need to know what caused the problem and tackle it in the right order.
So, let’s walk through everything. From spotting the early damage to making sure it doesn’t happen again. By the end, you’ll feel way more confident about your terrarium setup.
How to tell if your terrarium is actually overwatered

Identifying the real problem is always the first step. An overwatered terrarium doesn’t always look dramatically bad. Sometimes, the clues are surprisingly subtle and easy to miss if you’re not sure what you’re looking for.
A little extra moisture is totally normal in closed setups, but there’s a meaningful difference between a healthy microclimate and a waterlogged ecosystem slowly falling apart.
The most common visual signs
Look closely at the glass. If it stays heavily fogged for hours with no clearing, especially in a closed setup, the water cycle is running out of balance.
Next, inspect the plants themselves. Yellowing leaves, soft or mushy stems, and drooping that doesn’t recover after a few hours all point clearly to root stress from excess water.
What the soil tells you
Healthy terrarium soil should feel barely moist when you press a finger into the top layer. If it feels soggy or releases water, there’s too much moisture down there. You can learn all about layering a terrarium soil here!
Smell matters just as much. A fresh earthy scent is a good sign, but a sour or musty odor means excess water has likely started encouraging unwanted bacterial activity.
Why overwatering happens (and it’s not always your fault)
One of the most common reasons for an overwatered terrarium is simply underestimating how little water a closed system actually needs.
Unlike houseplants sitting out in open air, closed terrariums recycle moisture continuously. Water evaporates, condenses on the glass, and drips back into the soil.
In many setups, you might only need to add water every few weeks or even less. That’s genuinely surprising to a lot of people when they first get started with this hobby.
When the container plays a role
The shape and size of your container matters more than most people expect. A tall, narrow vessel traps humidity very differently from a wide, open bowl with more airflow.
Without drainage holes (true of most terrariums) water has nowhere to go. Even a false bottom of gravel has limits, and once full, roots sit in standing water.
The role of plant choice
Succulents and cacti store water in their tissues, so a humid, closed terrarium will cause them to rot long before you even notice anything is actually wrong.
Tropical plants like fittonia, miniature ferns, and mosses are far better suited for enclosed setups. They’re built for consistent humidity and genuinely thrive in the environment a closed terrarium creates.
Step-by-step: how to fix an overwatered terrarium
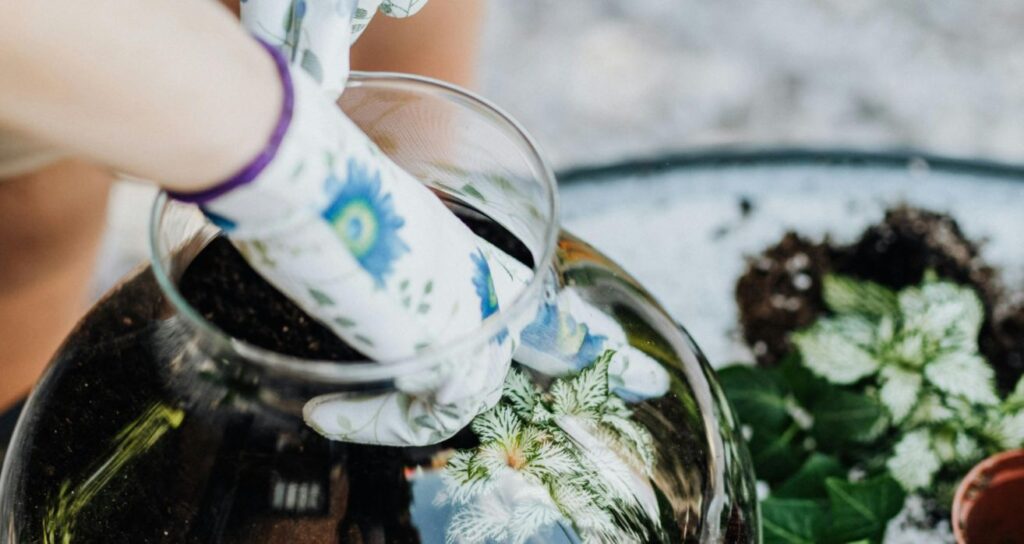
Now that you know what you’re dealing with, let’s get into the actual fix. The process really isn’t complicated, but it does take a little patience and rushing through it, or skipping steps, can cause more harm than the original problem did. What you’ll need:
- Clean paper towels or a soft cloth
- A small scoop or spoon
- Activated charcoal (optional but helpful)
- Fresh terrarium soil or substrate
- Scissors or pruning snips
- A spray bottle
Step 1: open it up
Start by removing the lid and leaving it off for at least 24 to 48 hours. This allows excess moisture to evaporate naturally and gives the soil room to breathe again.
You don’t need to do anything else at this stage, just let it air out. Rushing to the next step before the soil has slightly dried will make things harder.
Step 2: remove the plants carefully
Gently lift each plant out and set them aside on a clean, dry surface. Take your time so you don’t snap stems or tear roots that might still be healthy and worth saving.
Once they’re out, shake off any clumps of waterlogged soil clinging to the roots. Inspect each plant closely, healthy roots are firm and light-colored, while damaged ones will be dark, soft, and possibly smell off.
Step 3: trim damaged roots and leaves
Use clean scissors or pruning snips to cut away any roots that are brown, mushy, or have an unpleasant odor. Cutting them off gives the plant a real chance to put energy into new, healthy growth.
Do the same for any leaves that are yellowing or showing rot near the base. It can feel drastic, but removing the damaged parts is exactly what helps the plant recover faster and more completely.
Step 4: replace the substrate
Remove all the old, waterlogged soil from the container and replace it with a fresh, well-draining terrarium mix. Old substrate that’s been sitting wet for too long can harbor bacteria even after it dries out.
Consider adding a thin layer of activated charcoal underneath the new soil, it helps filter excess water and keeps unwanted bacteria in check over time. It’s a small addition that makes a meaningful long-term difference.
Step 5: replant and resist watering
Place your plants back into the fresh substrate and then simply wait. Don’t add any water right away, even if your instinct is to help, the new soil has enough residual moisture to support the plants for now.
Let the whole system settle for at least a few days before reassessing whether anything actually needs moisture. After all these steps, your overwatered terrarium just needs time, so keep the lid off a little longer and watch for signs of recovery before closing it back up.
How to prevent overwatering going forward
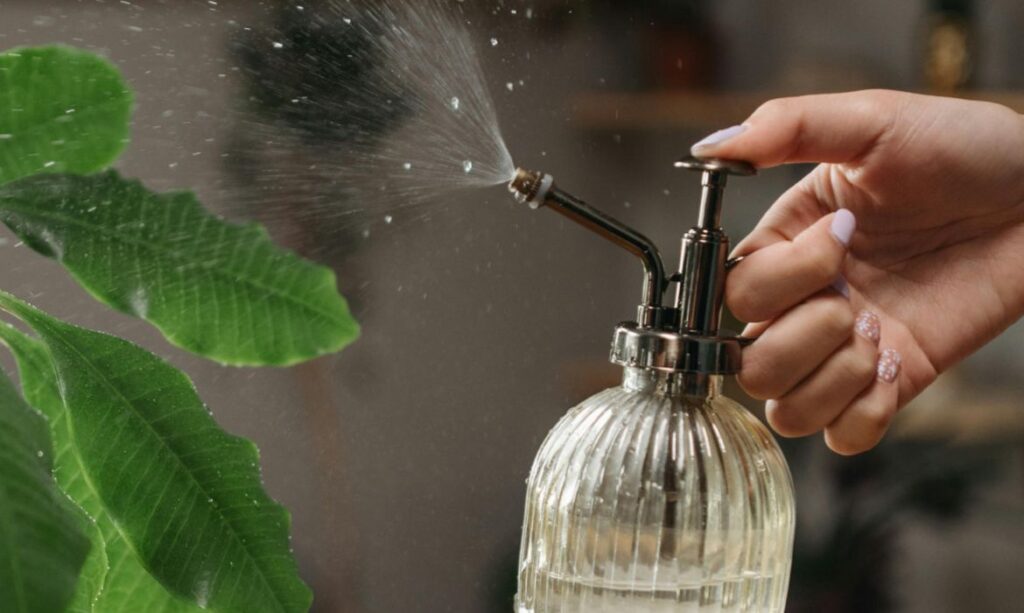
Prevention is honestly the easier path once you understand how these little systems work. The key is shifting your mindset.
Instead of thinking of your terrarium as something that needs regular watering and constant attention, start treating it as something that largely takes care of itself most of the time.
Learning to read your terrarium
Rather than following a fixed watering schedule, let the terrarium itself guide you. In a closed setup, light condensation clearing by midday means the system is balanced.
Persistent, heavy fogging means there’s already plenty of moisture, adding more pushes things in the wrong direction. Always err on the side of less and wait it out.
Watering tools that make a real difference
A spray bottle is your best tool for preventing an overwatered terrarium from ever happening again. It distributes moisture in small, even amounts, making excess genuinely hard to do.
For very small terrariums, a pipette or dropper works even better. You can target exactly where water needs to go without soaking the surrounding soil at all.
It’s important to know when to start over
Sometimes, despite your best efforts, a terrarium is simply too far gone to save. If most of the plants have rotted, the soil smells strongly of sulfur, and mold has spread throughout the container, starting fresh is honestly the smarter, more practical choice. There’s truly no shame in making that call even experienced keepers do it.
The container itself is almost certainly fine after a thorough cleanup. Give it a good wash with warm water and a diluted white vinegar solution, let it air dry completely, and you’ll be ready to rebuild with a much clearer picture of what went wrong before and how to avoid it next time.
Think of it as an opportunity rather than a loss. Many experienced terrarium keepers have started over at least once, and they’ll often tell you the second build comes out better than the first.
Understanding why your overwatered terrarium failed, and knowing exactly how to prevent it next time, is the kind of knowledge that genuinely makes a difference in how your future setups turn out.
Keep learning: how to clean a terrarium without killing plants
Fixing water levels is a great start, but keeping your terrarium genuinely healthy over time also means staying on top of regular cleaning to avoid algae and buildup.
There’s a dedicated article that walks you through the whole cleaning process in detail. It covers removing grime, algae, and debris without stressing your plants or disturbing the soil structure.
Head over and read “How to clean a terrarium without killing plants”. It pairs well with everything you just learned and gives you a clear, practical next step.
Once you’re no longer dealing with an overwatered terrarium, cleaning becomes simple and rewarding. Go check out that article your setup will look and feel so much better!